The state of LED grow light technology is improving rapidly, maybe even faster than ever. As a result, some of the best LED companies from just a few years ago are getting left behind while new companies produce LED grow lights that are pretty much superior in every way when it comes to ease-of-use and results for growing cannabis.
I’m not saying the older LED technology is “bad”. When it comes to growing cannabis with LED grow lights, just about any LED model can get the job done. Even some of the lowest quality LED grow lights produce great bud. However, certain LED companies are designing their lights specifically for growing cannabis plants. These newer LED models tend to produce faster and healthier growth, better yields, denser buds, stronger smells, and even increased bud potency in some tests.
One company that used to offer some of the best low-budget LED options was ViparSpectra. ViparSpectra LED grow lights are cheap and produce good growth, yields, and buds when used properly. ViparSpectra also updates their models regularly to include popular new features, higher quality components, and improved spectrum. Yet they aren’t testing their grow lights on cannabis plants. As a result, their technology is falling behind other companies that are testing and developing the lights with actual cannabis growers.
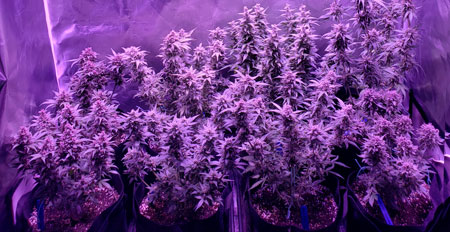
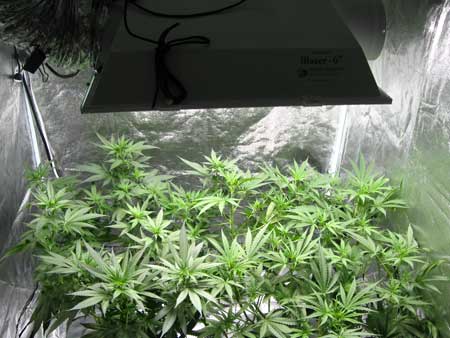
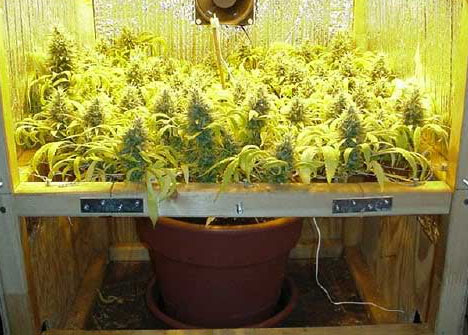
ViparSpectra LEDS – 300W draw, 6.9 oz yield
For example, when I used 300W (true power draw) of ViparSpectra lights, I yielded 6.9 oz of great weed. However, when I grew with an HLG300 R-Spec LED (which uses only 270W of electricity and runs significantly cooler), it produced 9.34 oz of weed that tested for higher levels of THC than clones grown in identical conditions under a 315 LEC. Not only that, but the HLG was also at a disadvantage compared to the ViparSpectras because during the HLG300 test I was growing low-yielding strains and it was in the winter so the temperature was often in the low 70s °F (low 20s °C) while HLG lights perform best around 80°F (27°C).
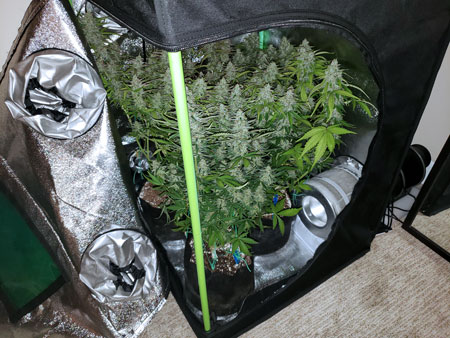
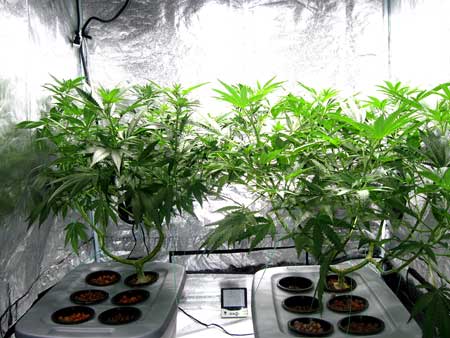
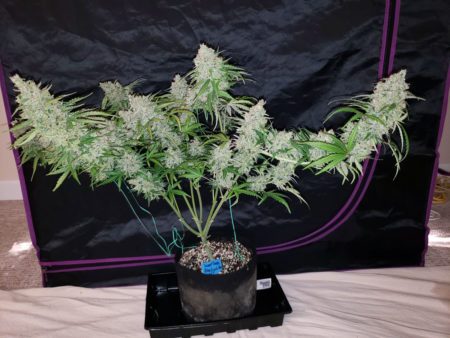
As another example, I used an HLG 100 (95W power draw) in a mini tent with better (warmer) environmental conditions and produced 5.5 oz or over 1.5 g/watt. In conclusion, although the ViparSpectra lights work well and I was happy with them, HLG LEDs just seem to perform objectively better for growing weed (better yields, lower heat, and higher THC in lab tests).
HLG 100 3000k – 95W draw, 5.5 oz yield
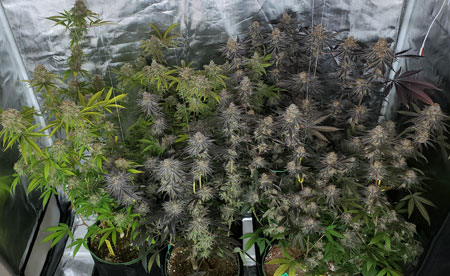
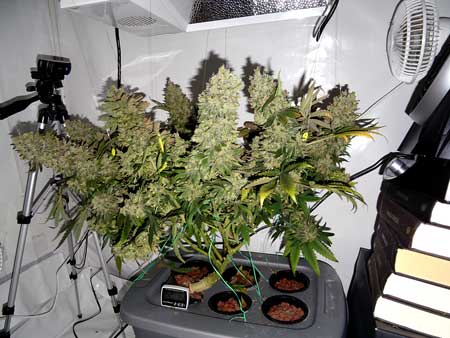
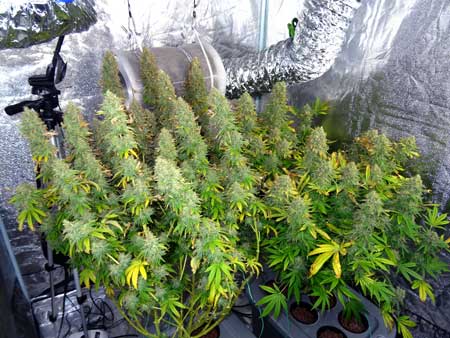
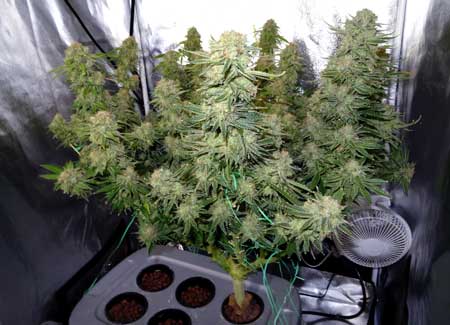
HLG 300 – 270W draw, 9.34 oz yield
Note: These plants grew in too-cold temperatures (HLG models performs best at around 80°F/27°C) and were low-yielding strains, yet still produced better yields and bud quality than the equivalent ViparSpectra LEDs which had much more ideal conditions
When it comes to LEDs, not all models are the same. You’ll often get much better results by investing in a good LED grow light. The extra money pays for itself with better yields and results.
Recommended HLG LEDs (though these are designed for big buds in the flowering stage, they can be used from seed to harvest and get good vegetative growth, too)

Auto Amnesia by MSNL
Another great LED manufacturer is the Green Sunshine Company. This company has great customer service and sends you detailed instructions on how to grow cannabis with their lights. Super helpful.
Electric Sky Buds
Super Lemon Haze
HLG and Electric Sky are certainly not the only great LED grow lights for growing weed, but these are ones I’ve tried and personally recommend based on my experience.
Bonus LED tip: Don’t use household LEDs as they typically have a coating that reduces the total amount of light that gets to your plants. If you want to use LED grow lights, I highly recommend getting a model that’s made to be a grow light. Even cheap LED grow lights seem to get better results than household LEDs for growing weed.
Avoid household LEDs for growing weed! Stick to actual LED grow lights for better yields per watt.
When your plants are young, you have a lot of control over their final shape and size. You can use this ability to force your plant to grow many big bud sites instead of just one main bud. This tends to increase yields overall indoors.
Don’t let indoor plants grow naturally with just one main bud
Increase yields for the same size plant by forcing it to grow multiple big buds!
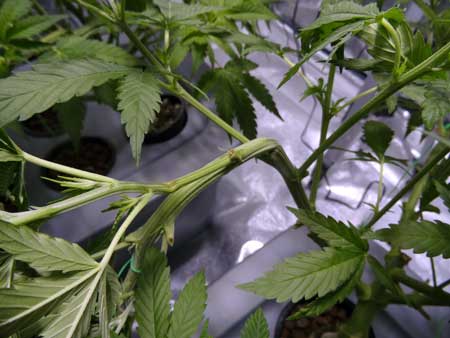
3 popular ways to force multiple buds
Manifolding takes a few extra weeks in the vegetative stage but rewards you with several huge, consistently dense buds
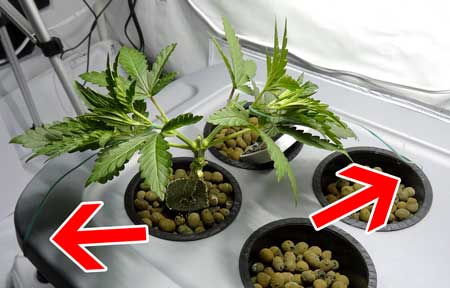
3.) Create a “Table”
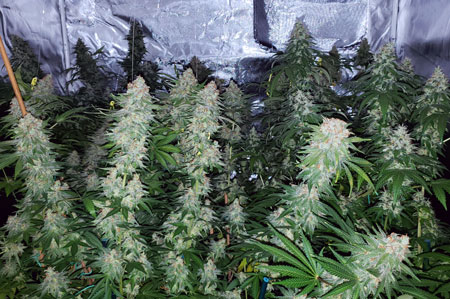
This is a continuation of the idea that you want to force the plant to make multiple buds. Although it’s great to have multiple buds, what’s even more effective at increasing yields indoors is ensuring all those buds are the same distance from the grow light. Every grow light has a “sweet spot” distance where buds tend to get the biggest. When you create a flat, table-top shaped plant canopy, you can ensure that nearly all the buds are in the sweet spot.
Note: This tip is aimed at indoor growers using grow lights. When growing outdoors, there is not a significant difference in light levels at different heights because the sun is millions of miles away. That means there isn’t a “sweet spot” to aim for like there is with grow lights.
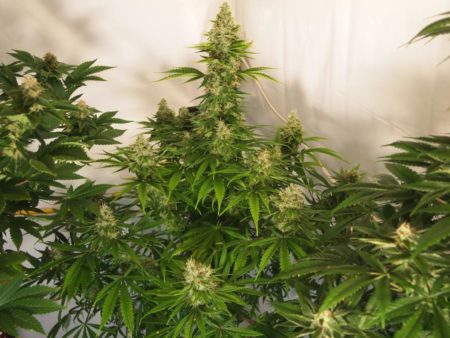
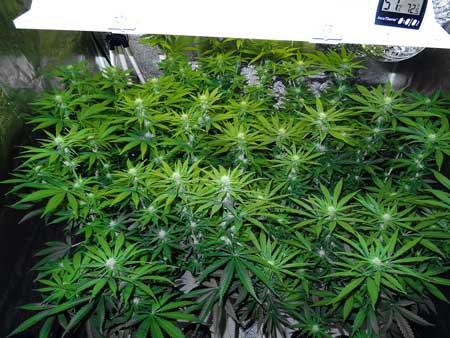
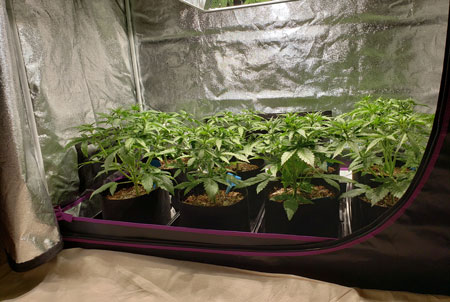
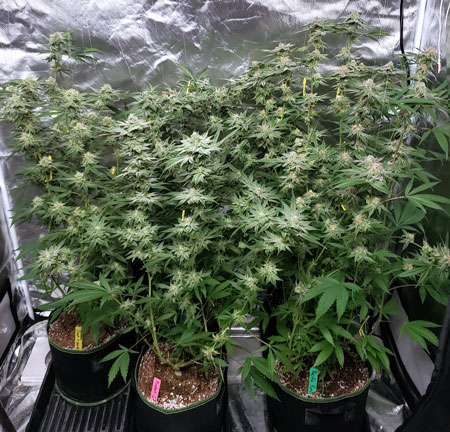
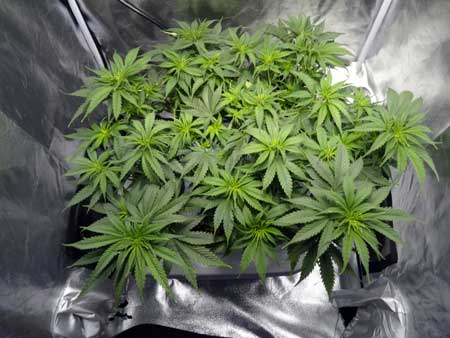
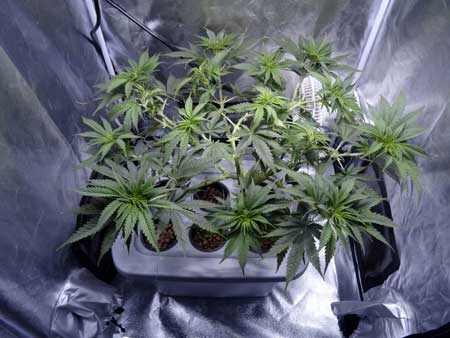
Train plants to grow in a wide, flat, table-top shape from a young age using LST, topping, manifolding, or other plant training techniques
Notice how the plants are basically “flat” across the top
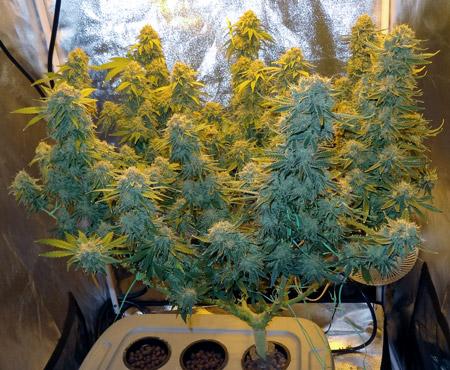
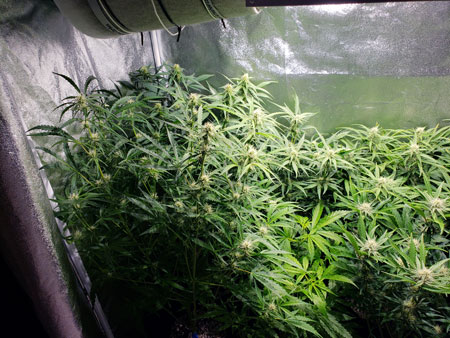
This naturally creates a “sea” of buds when plants start flowering that are all about the same distance from the grow light…
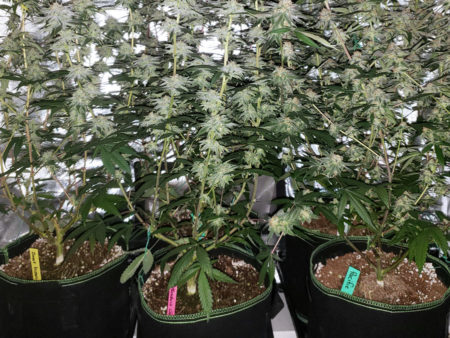
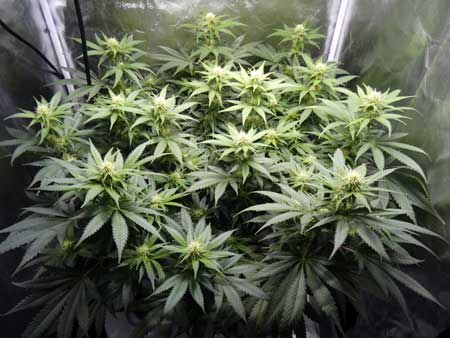
…which is how you can achieve something like this!
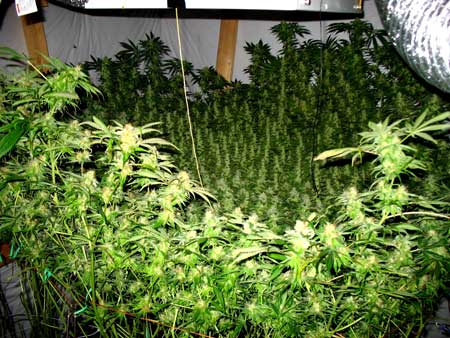
Besides regular bending and training, one popular way to easily create a table shape is the Screen of Green (ScrOG) technique. ScrOG involves training plants to grow along a screen or net.
A table is especially great for any “panel” style lights that are flat and wide themselves, like quantum board LEDs, T5s, etc. However, if you’ve got a grow light with a small main light source (like a bulb where all the light comes from one small point in space), you can go even more advanced and make a “bowl”.
Each of these arrows is the same length. This shows how the plants on the sides are a further distance from the bulb even though the canopy is mostly flat.
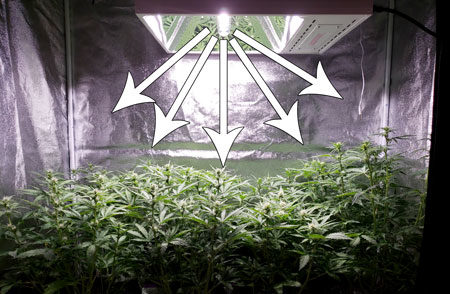
With grow lights that use a big center bulb or central light source (such as MH, HPS, LEC/CMH, COBs, etc), you can let the side plants get a bit taller to get more main buds in the main zone. This helps buds on the sides get as big as buds in the center.

Here’s a ScrOG that was made into a bowl to take advantage of the light from an HPS (where all the light comes from a single bulb)
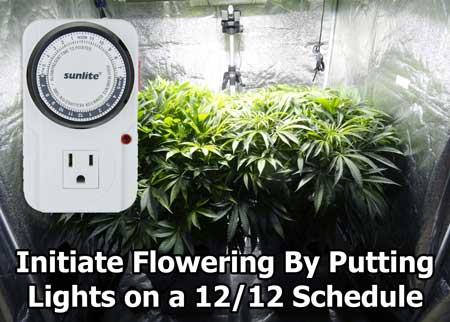
When growing a photoperiod (standard or non-autoflowering) cannabis plant, you have to initiate the flowering/budding stage by giving plants a 12/12 light schedule. This means putting your grow light son a timer so plants get 12 hours of light in the day and 12 hours of total uninterrupted darkness at night. Learn more about light schedules.
You have to initiate 12/12 to get plants to start making buds, but when is the best time to make the switch?
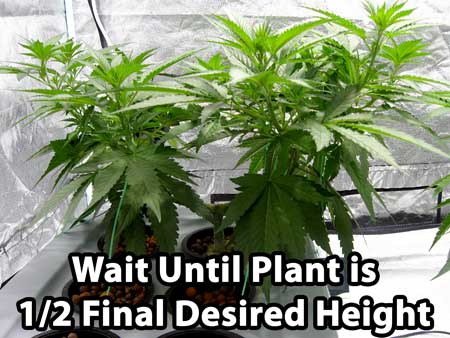
It’s easy. Since most strains about double in height after 12/12, the best time to flip is when your plant is about half the final desired size. So if you want 3-foot tall plants, initiate 12/12 when they’re 1.5 feet tall. If you want 1-foot tall plants, initiate when plants are 1/2 foot tall.
Switch too soon and plants stay small with small yields
Switch too late and plants can get so big they take over your grow space.
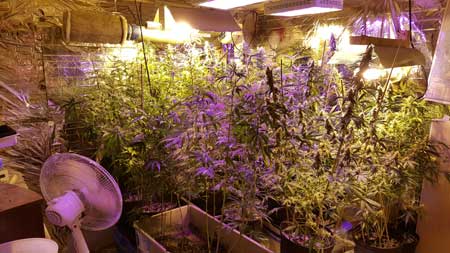
Even if you have plenty of space, bigger plants aren’t necessarily better because the bottom buds tend to stay small and steal energy from the top buds, especially with smaller grow lights.
Although big grow lights can support huge plants with long fat buds, smaller grow lights get better results with smaller plants and shorter buds. That’s because if buds are too tall/long for the grow light, the bottom buds tend not only stay small but also “steal” energy from the top buds. As a result, buds all over the plant stay on the smaller side and don’t get as dense as they could.
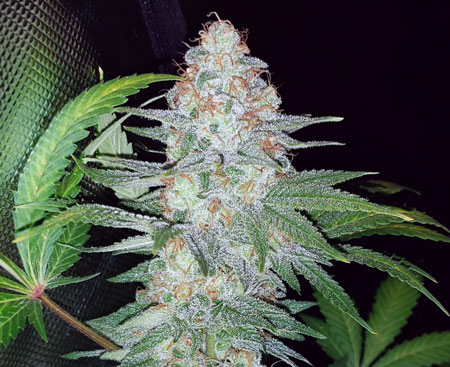
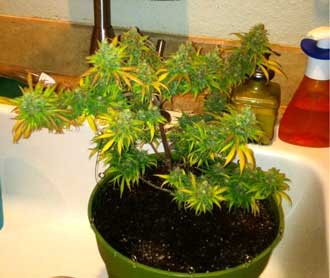
Notice how all the buds near the bottom of the plant never fattened properly because they were too far from the grow light. These plants should have been switched to 12/12 earlier. Or…
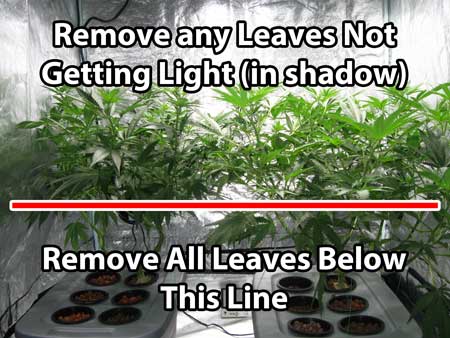
If plants have already gotten too tall for your grow light but you’re still in the early part of the flowering stage, an easy fix is lollipopping. This just means removing all parts of the plant below where the grow light can reach. This ensures that the plant is only putting effort into buds that get strong light. This should be done before the plant starts making significant buds if possible. That ensures that all energy during the flowering stage is going into the buds at the top.
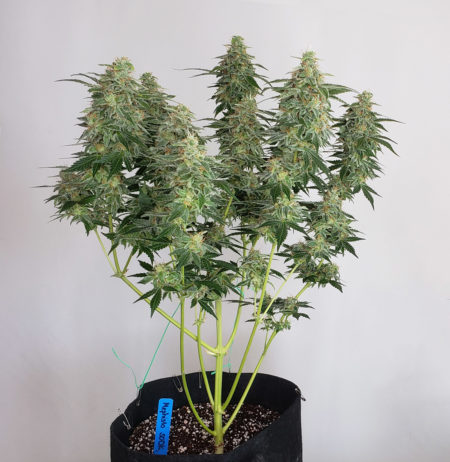
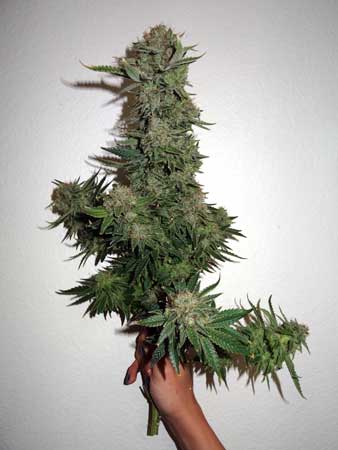
Example of a lollipopped plant with fat buds at the top
Lollipopping helps improve yields on too-tall plants, but if plants are so tall you’re running out of height, the next tip will help…
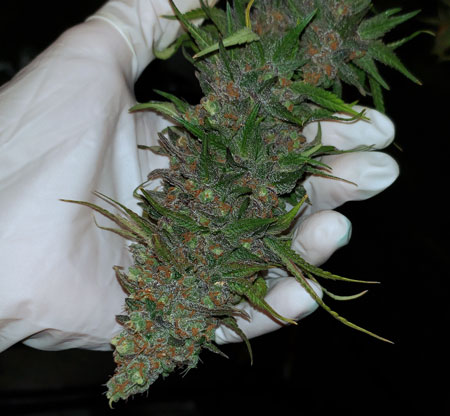
Supercropping basically means extreme bending on stems that are normally so rigid they would break. When using the supercrop technique, you can bend just about any branch at a right angle or more, without breaking the skin. This gives you the ability to dramatically reduce the height of a plant even if it’s already too tall and branches have completely hardened over.
Supercropping is a specific technique that lets you bend branches that normally would break if you tried to fold them over
Example of a supercropped plant. This plant wasn’t trained to grow in this shape from a young age. It grew tall and thin so the grower bent all the branches at right angles to dramatically reduce the height and create a desirable table-top shape that ensured all buds got as fat as possible.
This is more of an advanced technique, but strategic defoliation in the flowering stage can dramatically increase yields, density, and overall bud size when done properly. The main idea is to remove most leaves from the plant right at the beginning of the flowering stage, and then again about 3 weeks later. As a result, the plant tends to produce longer, denser buds with fewer small nuts. Removing unnecessary extra leaves also lowers the humidity of the grow space and reduces the chance of bud rot or powdery mold.
Defoliation is most effective when plants are extremely bushy. Notice how most of this plant on the left is basically in total shade. None of the buds will fatten up more than an inch or two down because they’re not receiving light or air because of too many leaves.
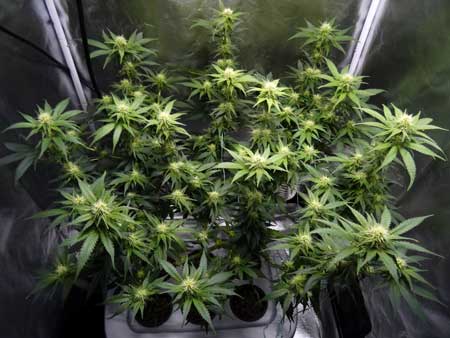
Example of a plant right at the switch to 12/12 (“Week 0” of the flowering stage)
It was defoliated and then allowed to grow for 3 weeks
Here it is 3 weeks later. Light and air are not getting into the plant.
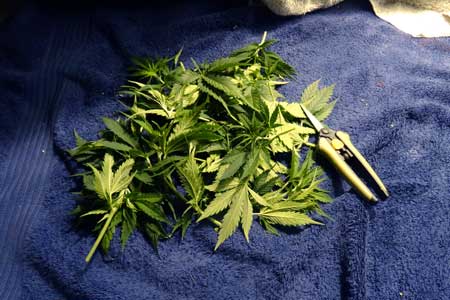
After second defoliation – never defoliate more than this unless you already have experience with defoliation!
The plant was left alone after that. Here is the result at harvest
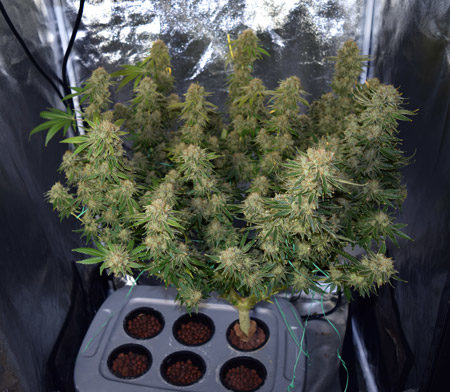
Notice how there are no small or airy buds on the entire plant
And lots of huge ones
Main things to remember about defoliation
Cannabis plants are typically either male or female. Female plants produce the buds we know and love, while male plants produce pollen sacs that don’t produce much THC and other cannabinoids. In addition to the fact that male plants aren’t good to smoke or use, the pollen they produce causes female buds to become seedy. No one likes seedy buds, and if buds are heavily seeded, it starts to reduce the potency. Unless you’re planning on making seeds, you probably want to identify and remove male plants as soon as possible.
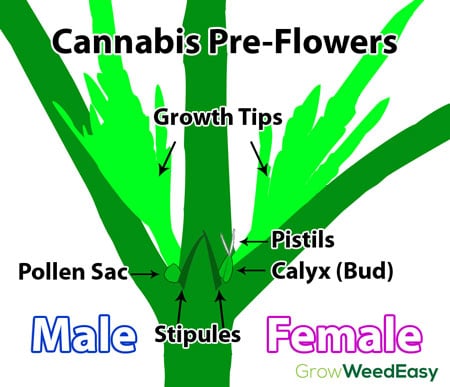
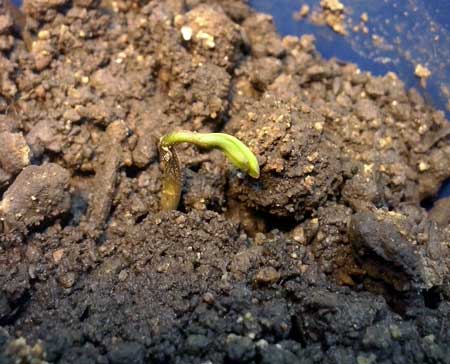
Unfortunately, you can’t look at a young plant or seedling and know whether it’s male or female. One option is to wait for the plant to make preflowers, which can appear as early as 3 weeks from seed on some strains but can take 8 weeks or more to appear on other strains.
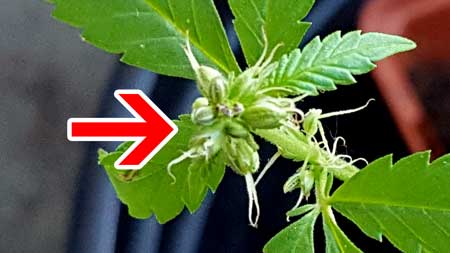
If you don’t want to wait for plants to produce preflowers in the vegetative stage, you can simply wait until you initiate 12/12 and see if plants produce female buds (looks like white hairs at first) or male pollen sacs (look like little bunches of football-shaped grapes). Then you simply remove the male plants from the grow space so they don’t pollinate females (cause them to make seeds).
Example of seedy buds
The issue with this is about half of all plants are male. That means you need to remove half the plants after initiating 12/12. To make things worse, it’s not always exactly 50/50. You could get unlucky and grow out 4 plants with all 4 being male. No good! It can be difficult to plan your garden in a small indoor space when you don’t know how many plants are going to be flowering.
6 options to deal with male plants
Example of a male plant with pollen sacs.
Another related issue is “herms” (also called “hermies”) which is short for hermaphrodite plants. These plants produce both buds and pollen on the same plant. That means you could have a plant you think is female, but if it starts producing pollen you’ll still end up with seedy buds.
What to Know About Herms
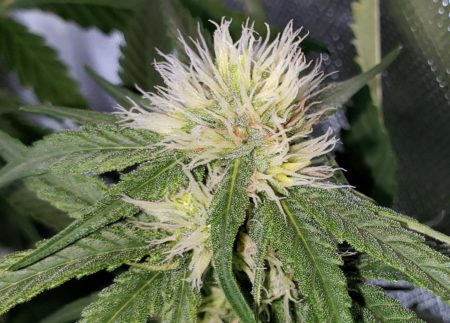
Example of a herm plant with yellow bananas. Notice there are dark brown hairs on otherwise snowy white buds. The dark hairs are a sign of pollination. Upon closer inspection, you can see that there are tons of yellow bananas among the beautiful buds. When you see this, immediately separate and remove the plant from the grow space. Bananas can start pollinating other buds immediately.
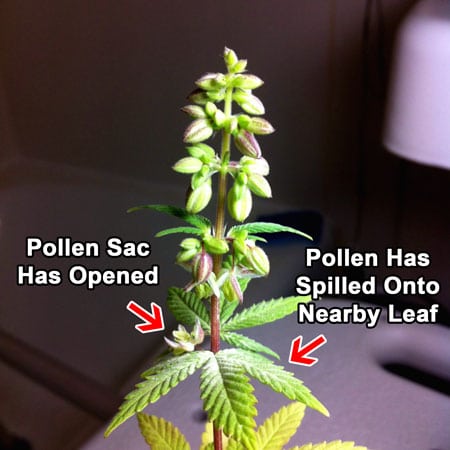
Sometimes you will see pollen sacs instead of bananas on an otherwise female plant. Luckily, pollen sacs typically don’t release pollen until they open up, which gives you a few weeks after they appear before causing problems. You should still immediately remove any plants with pollen sacs from the grow space so other plants don’t get pollinated when the pollen is released.
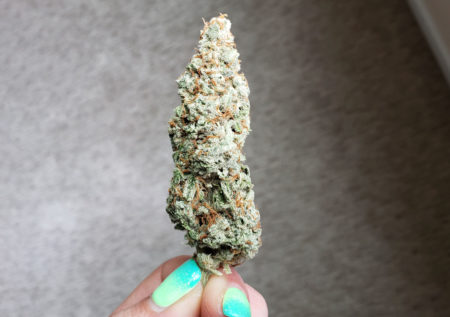
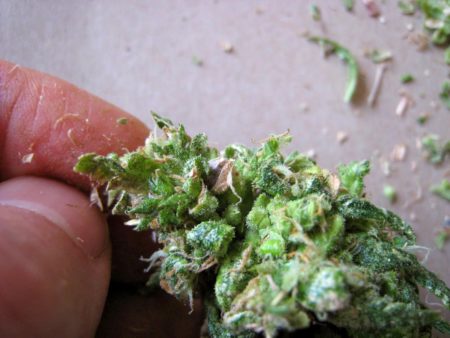
It’s tempting to harvest your plants when they look close to the finish line. Yet early harvests not only reduce yields (bud size increases dramatically in the 2-3 weeks before buds are ready to harvest), the potency is also lower. You’ve grown your plants for about 4 months on average, don’t skip out on a few more weeks!
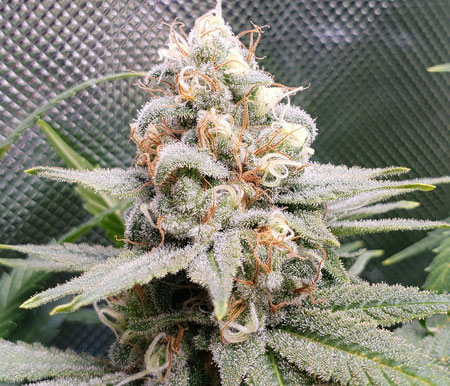
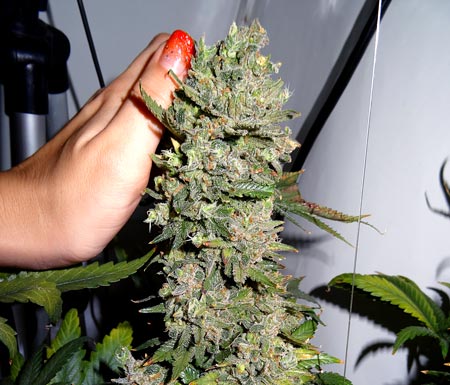
Buds are ready to harvest when all the hairs have darkened and curled in. The glittery trichomes on the buds also change color as buds mature. If you use a magnifier to look at the trichomes closely, you can pick the optimal time to harvest. Trichomes are a more accurate measure of bud maturity than the color of the hairs, so this is the recommended method if possible. Each strain takes a different amount of time before buds are ready to harvest. Some strains only need 6-7 weeks in the flowering stage, while other strains need 14 weeks or more. When choosing strains, pay attention to the breeder’s listed flowering time so you know what to expect. However, I’ve found that most breeders underestimate the time needed by a few weeks. So I recommend planning on your plants needing a few weeks longer than recommended. The grow light also has an effect. Buds tend to mature slightly faster under lights with more blue in the spectrum.
Buds are ready to harvest when all the hairs have darkened and curled in
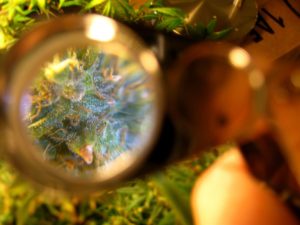
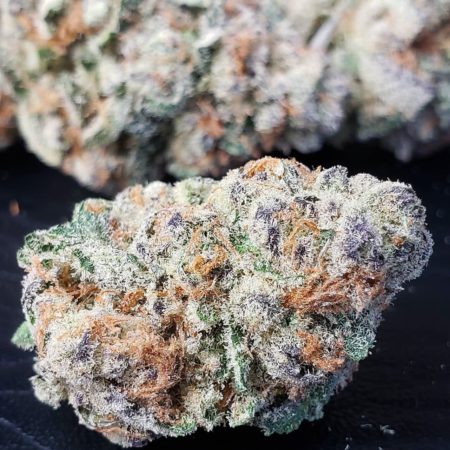
For a more accurate measure, look at the color of the glittery trichomes under a magnifier. Clear trichomes are immature with low potency, while white and yellow/amber trichomes are mature. White trichomes produce more of a cerebral/mental effect, while amber trichomes produce more of a body/stoned effect.
I just wanted to share some cheap but helpful grow tools that I use all the time, yet you won’t realize they exist unless someone tells you!
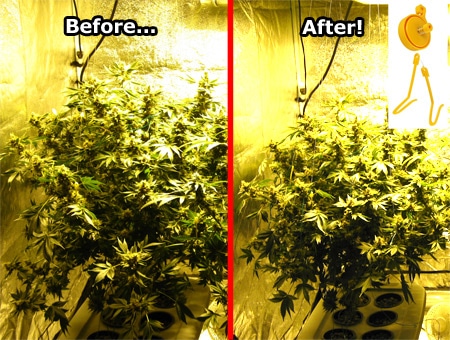
Rope ratchets let you easily raise/adjust the height of grow lights, carbon filters, or anything heavy/unwieldy
Plant yo-yos hold up heavy buds
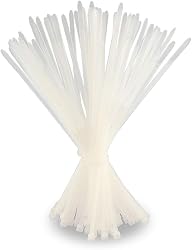
Zip ties are awesome for all kinds of random jobs
Plant twist tie holds stems where you want them
Thermometer/hygrometer with a probe or remote sensor to view temperature and humidity inside the tent

10.) Ultimate Secret to Mastery
This is the most important lesson I’ve learned from growing. You have to learn how to deal with growing problems in a healthy and effective way.
How to Become a Master Grower
Whew! That was a doozy of an article! I hope these tips and tricks help you take your growing skills to the next level.
Take care,
Nebula Haze